
How to Make a Simple Neon Sign at Home: A DIY Guide
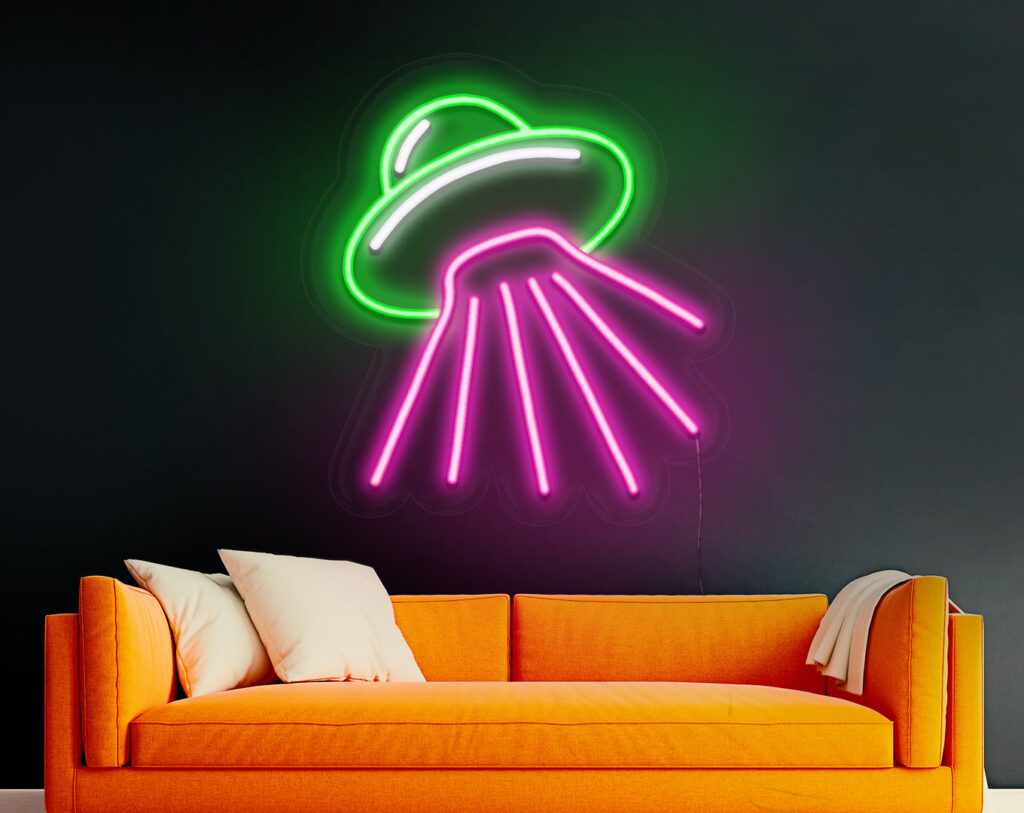
Neon lights are a unique and eye-catching addition to any space, often bringing a vibrant glow and a touch of retro aesthetics. While traditional led neon light require specialized equipment and expertise, you can create a simplified version at home using easily available materials. Follow this step-by-step DIY guide to craft your own simple diy led neon sign.
Materials Needed:
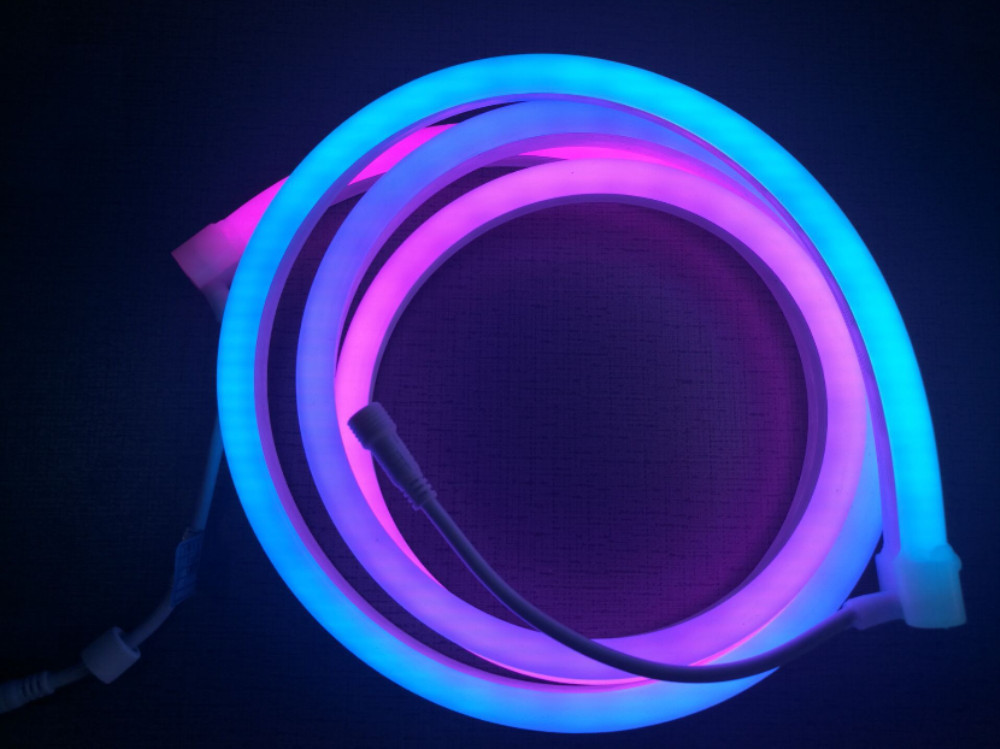
1.LED Strip Lights: Choose your preferred color. Flexible LED strips are user-friendly and widely accessible.
2.Clear Silicone Tubing: Serving as the outer casing for your diy led neon sign.
3.Wire Cutters and Strippers: Essential tools for cutting and preparing the LED strip lights.
4.Electrical Tape or Heat Shrink Tubing: To secure connections and provide a finished appearance.
5.Power Supply: Ensure it matches the specifications of your LED strip lights.
6.PVC Pipe (Optional): To provide structure and shape to your neon sign.
diy led neon sign Steps:
1.Plan Your Design: Decide on the shape and pattern for your DIY led neon sign. Keep it simple for your first attempt.
2.Cut the LED Strip Lights: Use wire cutters to cut the LED strip lights according to the desired length for your design. Most LED strips have marked cut points.
3.Prepare the Silicone Tubing: Cut the clear silicone tubing to match the length of your LED strip lights. Ensure it is clean and free of any debris.
4.Insert LED Strip into Tubing: Carefully insert the cut LED strip into the silicone tubing. Take your time to avoid damaging the strip.
5.Secure the Ends: Seal the ends of the silicone tubing using electrical tape or heat shrink tubing to protect the LED strip and create a finished appearance.
6.Shape the led neon light (Optional): If you want your led neon sign to have a specific shape, consider using a PVC pipe. Slide the tubing onto the pipe, following the desired contours.
7.Connect to Power Supply: Connect the ends of the LED strip to the power supply according to the manufacturer’s instructions. Ensure the power supply matches the specifications of your LED strip.
8.Test Your DIY Neon Sign: Turn on the power supply to test your creation. Adjust the shape or pattern as needed.
9.Mount or Display: Once you’re satisfied with your diy led neon light, find a suitable place to mount or display it. Consider using adhesive clips or brackets for easy installation.
10.Enjoy Your Homemade Neon Sign: Step back and enjoy the glow of your homemade led neon light. Experiment with different colors and shapes for a personalized touch.
When working with electricity, remember to exercise caution, and if you have doubts, seek guidance from knowledgeable individuals. Although this DIY neon light may not match the complexity of traditional LED neon lights, it provides a fun and accessible means to introduce a neon-inspired ambiance into your home.