How do you make a quick led light box?
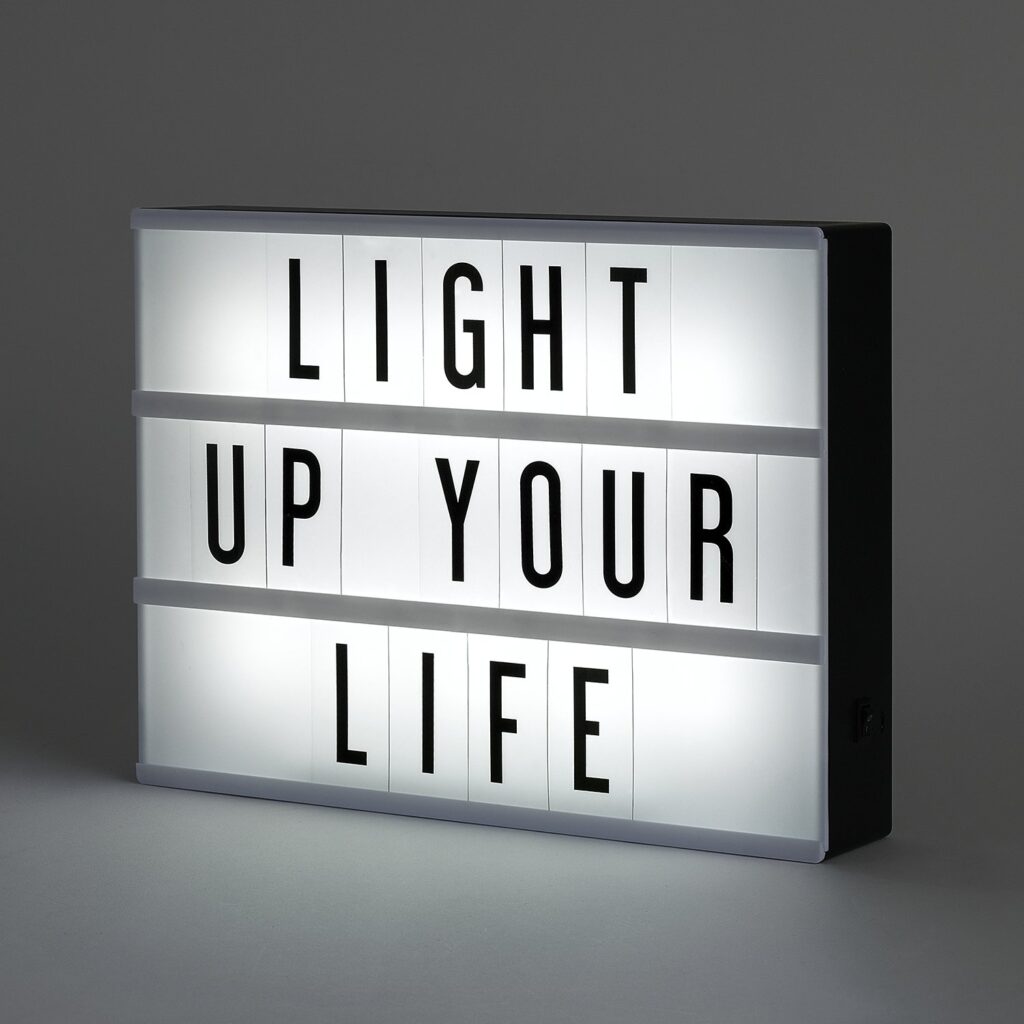
Creating a quick led light box is a straightforward process that involves a few key steps. Follow these instructions to make your own Acrylic light box:

Materials Needed:
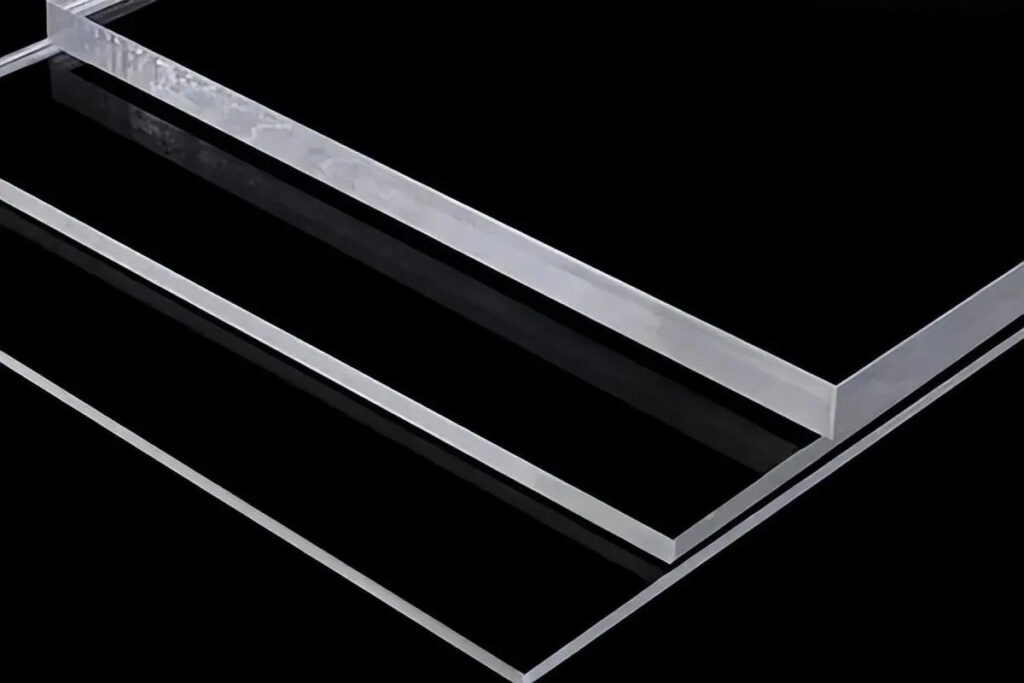
1.Acrylic sheet or a translucent material for the display surface
2.Wooden or plastic frame (pre-made or DIY)
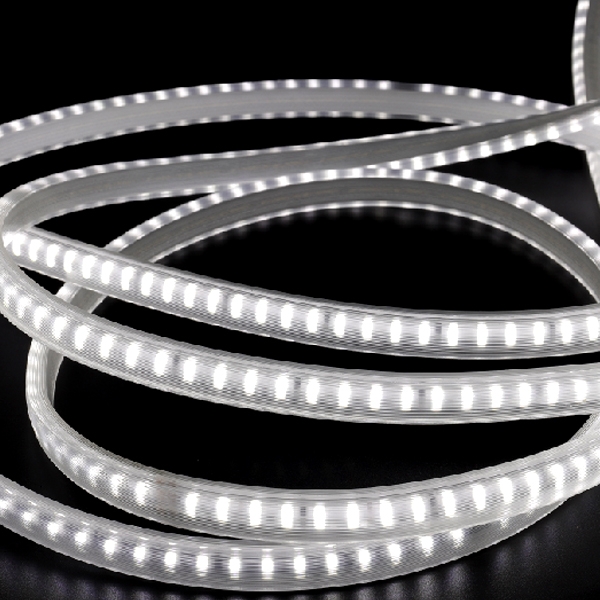
3.LED light strips or LED light panels
4.Power supply for the LEDs
5.Diffusion material (such as a sheet of vellum or frosted acrylic)
6.Adhesive or mounting brackets
7.Cutting tools (if adjustments to the frame or display surface are needed)
8.Measuring tools
9.Decorative elements (optional)
Steps:
1.Prepare the Frame:
If you’re using a pre-made frame, ensure it fits the size you want for your display. If creating your own frame, cut and assemble the frame using wood or plastic. Make sure the frame is sturdy and suits your desired dimensions.
2.Prepare the Display Surface:
Cut the acrylic sheet or chosen translucent material to fit the dimensions of your frame. Ensure it is clean and free of any scratches or imperfections that might affect the display.

3.Mount the LEDs:
Attach the LED light strips or panels to the inside edges of the frame. Ensure they are evenly distributed to provide uniform illumination. If using strips, follow the manufacturer’s instructions for proper installation.
4.Install Diffusion Material:
Apply the diffusion material over the LED lights to soften and evenly distribute the light. This can be a sheet of vellum, frosted acrylic, or a similar material. Attach it securely to the frame.
5.Connect the Power Supply:
Connect the LED lights to the power supply, following the manufacturer’s instructions. Ensure that the power supply is suitable for the voltage and power requirements of the LEDs.

6.Secure the Display Surface:
Attach the display surface (acrylic sheet) to the frame securely. Use adhesive or mounting brackets to hold it in place. Make sure the diffusion material is between the LED light box and the display surface.
7.Decorate (Optional):
Add any decorative elements or graphics to the display surface if desired. This could be branding, artwork, or any content relevant to the purpose of your Acrylic light box.
8.Test the Display:
Power on the LED lights to test the display. Check for even illumination and adjust the diffusion material or LEDs if necessary.
9.Final Adjustments:
Make any final adjustments to ensure the frame is stable, the display is well-lit, and the overall appearance meets your expectations.
By following these steps, you can create a quick and effective LED Acrylic light box suitable for various purposes, such as product showcases, signage, or decorative installations.
